Fiji (ImageJ) with Photo Monitoring Plugin for NDVI (Mac OS X)
These are the files you require to process NDVI images shot with the Peau Productions Blue+NIR single camera NDVI lens or Mapir NDVI camera on a Mac
(requires OS X 10.7 or above) using Fiji (ImageJ), a Java based multiplatform open source image processing package. For other operating systems please download
the appropriate package from Ned Horning's repository on
GitHub.
Notes
Download the Fiji App disk image below (and install the Java 6 legacy runtime if you don't have it) and copy the Fiji app to the folder of your choice (suggest
~username/Applications/Fiji but anywhere that's writable will do). The user manual for the Photo Monitoring plugin is included in the disk image. IMPORTANT:
The Photo Monitoring plugin requires a specific version of Fiji (ImageJ) to run. When you first start the app ensure you select Never in the updater window
if it opens (and any subsequent time the updater window opens). The other two windows can be closed just leaving the toolbar open. If you require a more recent
version of Fiji to run other tasks or plugins simply install the latest version from the Fiji website into a different folder and keep this one for NDVI processing.
The Mapir NDVI 0-1 LUT is preinstalled into the app, along with the Photo Monitoring plugin and bundled NDVI LUTs. To access, run the Fiji app then go to
Plugins > Photo Monitoring and select Apply calibration coefficients to a directory of images. It is suggested you follow the workflow on the
Mapir website, you can
download sample images from there or download the sample raw image below. Ensure you set the Minimum index value for scaling color index image to 0
(it defaults to -1.0) for the LUT to work correctly. If you want to save the calibrated black to white floating point tiff image (handy if you want to open the
tiff in Fiji and try different LUTs) then select Output floating point index image - see screenshot below. The included NDVI VGYRM LUT has a more
traditional NDVI gradient with higher values in red and lower values in greyscale. To apply this LUT open the floating point tiff image in Fiji and select
Image > Lookup Tables then apply the NDVI VGYRM LUT. Note you can try different LUTs on the same image without reopening it. See the sample processed
image below for the different LUT outputs.

Limitations
The plugin gives no indication of what the file open or save dialogs represents. Run the plugin and enter the variables required (above) then click OK. The
first dialog that appears is to locate the calibration file you wish to use. The second dialog is to choose the folder that contains the image(s) you wish to
process. The third is the processed images and log file location, you can save these into the image process folder or choose another location. You can safely
overwrite the log each time you process files.
If running on Yosemite or El Capitan the processed images display with the thumbnail of the original image. If you open them in an image editor or use quickview
to view them you will see that they have been processed. Once the processed images are edited and saved the thumbnail preview will be correct.
Downloads
Note: Fiji requires the legacy Java 6 runtime available from the Apple
website, this is not installed by default on newer versions of OS X. You can check whether you have this installed already by running Fiji - if it's not installed
it will notify you and direct you to the download page on the Apple website.
Right-click and select Download linked file as... to save to a location on your Mac
Fiji App (dmg - External Link)
Mapir Calibration File (txt)
Mapir NDVI Gradient Key (png)
NDVI VGYRM Gradient Key (png)
Sample Raw Blue+NIR Image (jpg)
Sample Processed Image
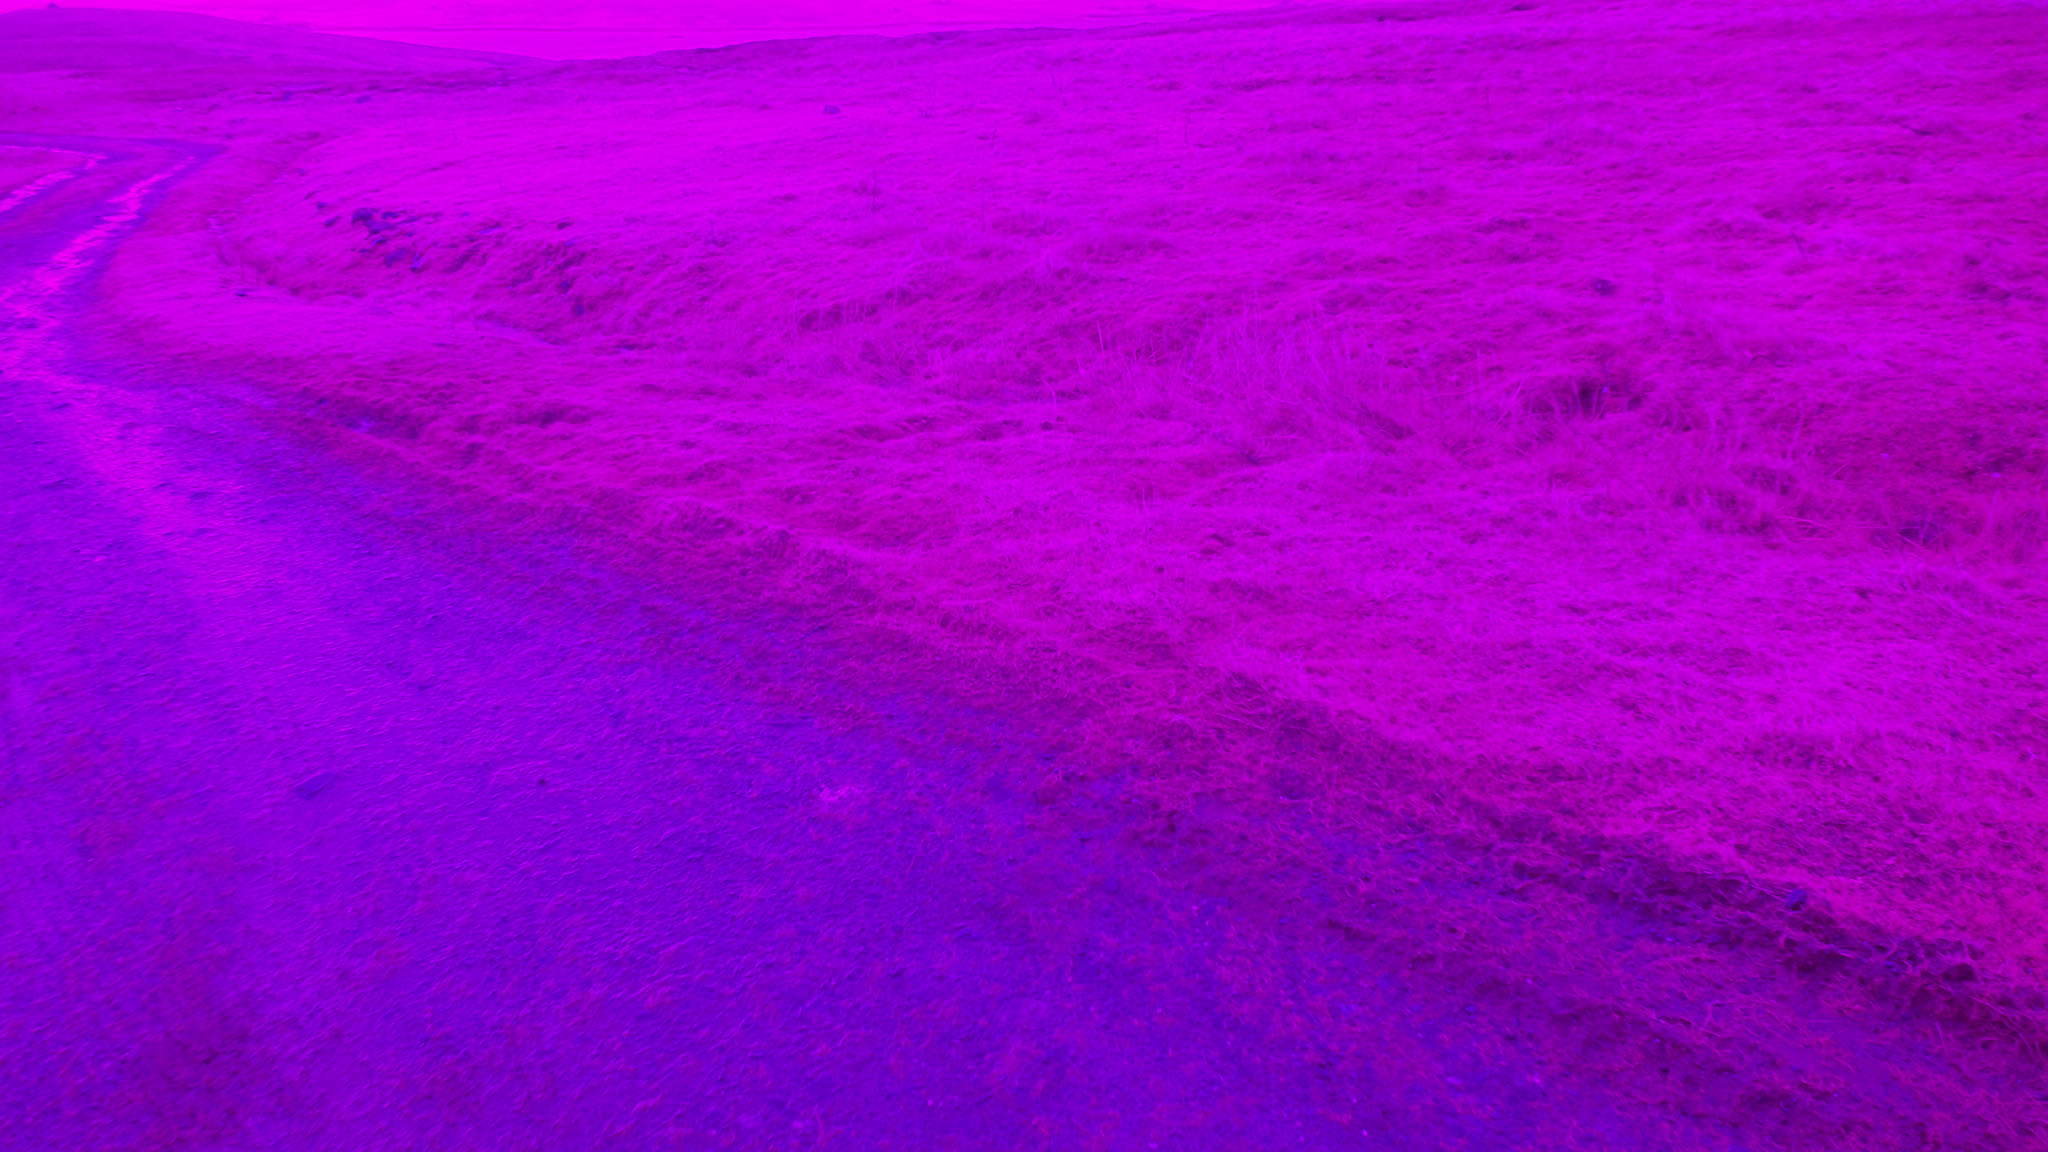
The image below is of a track running through some rough moorland with various grasses, mosses and scrub vegitation. Shown is the original Blue+NIR image, the
black to white floating point index image, the image with the Mapir NDVI 0-1 LUT applied and lastly, the NDVI VGYRM LUT applied to the floating point image. You
can download the reference gradient image files for both these LUTs above.
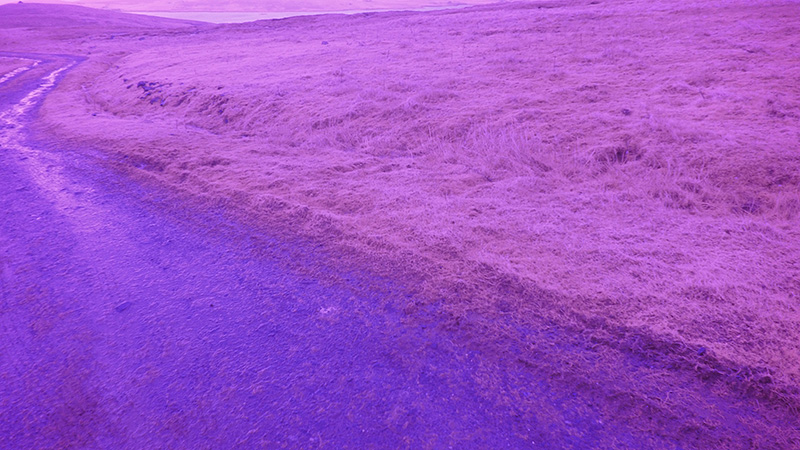
Raw image captured using a 4.35mm lens with Blue+NIR filter on a DJI X3 camera
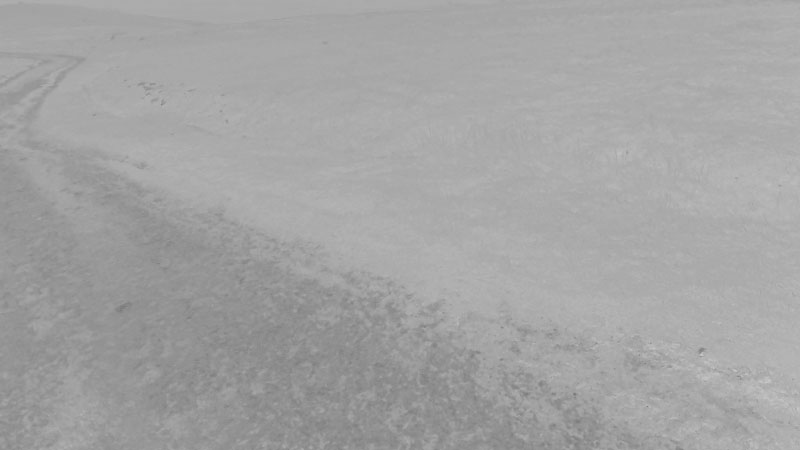
Floating point index image (note this is a jpg, not the true 32bit FP image)

Image processed using Fiji, the Mapir calibration file and the Mapir NDVI 0-1 LUT
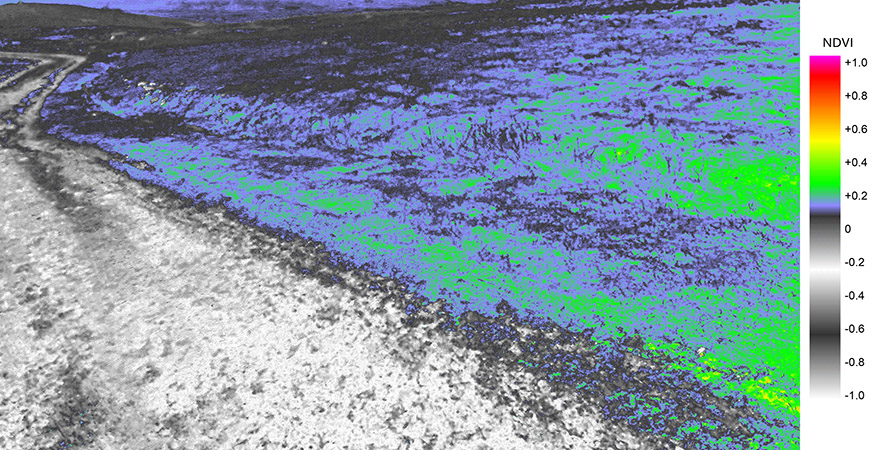
Image processed using Fiji, the Mapir calibration file and the NDVI VGYRM LUT applied to the floating point image
Sample Photomosaic Image
This photomosaic was created from 30 nadir photographs shot at 100m AGL from an Inspire 1 quadcopter. The images were stitched in Photoshop and processed in Fiji.
Finally the processed NDVI image was superimposed on to a Google Earth image of the area. The GIF image shows a single photo in RGB, RAW and NDVI.
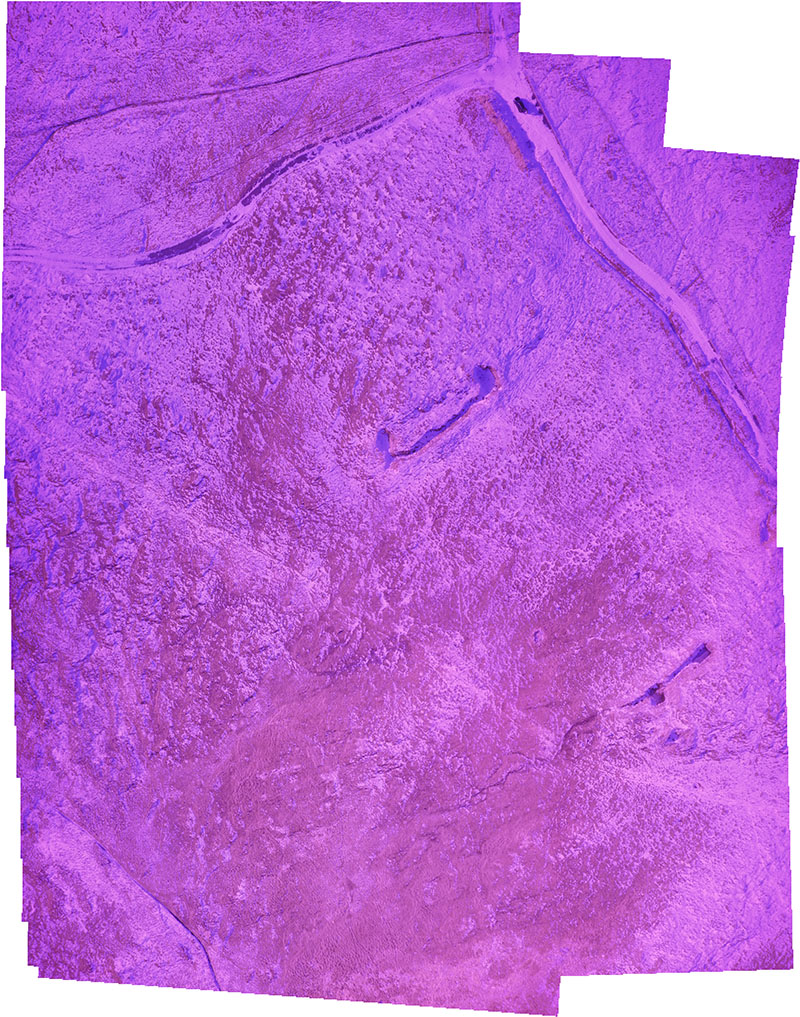
Raw 30 image photomosaic at 1.5cm/px captured using a 4.35mm lens with Blue+NIR filter on a DJI X3 camera
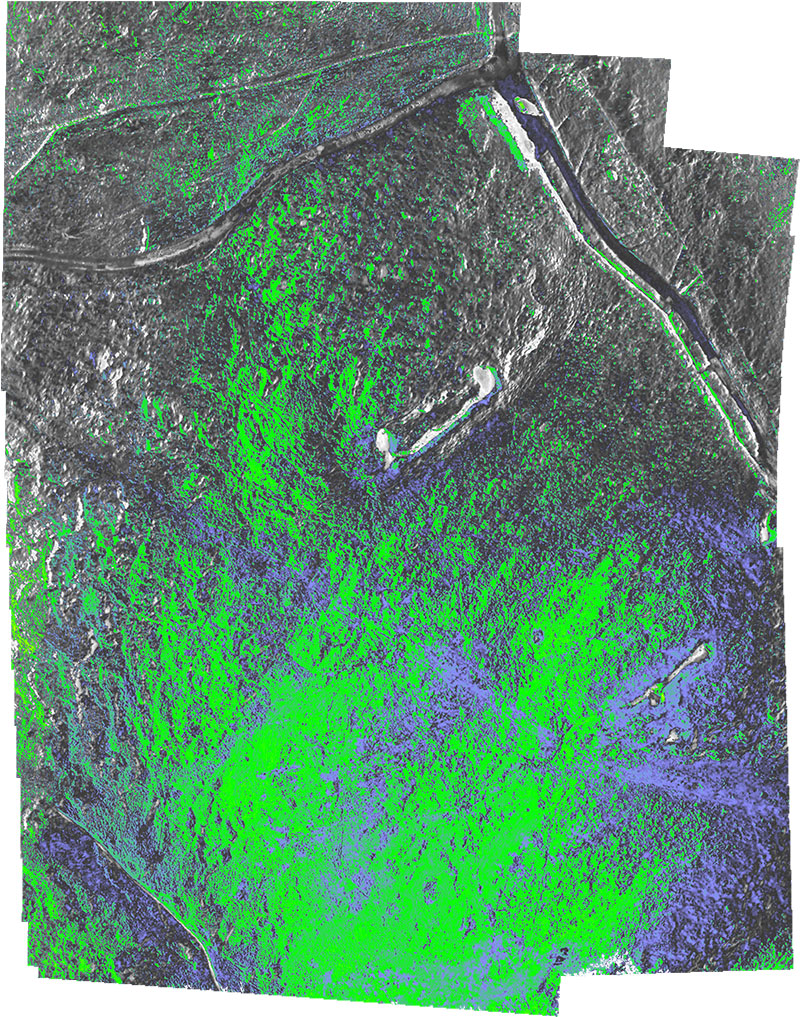
Image processed using Fiji, the Mapir calibration file and the NDVI VGYRM LUT

Photomosaic layer superimposed on Google Earth map

GIF animation showing RGB, RAW and NDVI frames
Credits
Fiji Project ImageJ package with additional functionality and plugins
Ned Horning ImageJ Photo Monitoring Plugin
Mapir Supplier of Mapir cameras, calibration file and LUT for Blue+NIR lens
Peau Productions Supplier of Blue+NIR NDVI filtered lenses for a variety of camera platforms
Shetland Flyer Aerial Media Commercial UAS operators providing NDVI mapping services